
Finding yourself with a compromised WordPress site and no restorable backup is a stressful situation — but not all is lost. With quick, methodical, and precise actions, it’s possible to clean the installation, restore the site’s integrity, and implement future defenses.
This article guides you step-by-step with 5 key reflexes, each detailed with its rationale, precautions to take, and associated best practices.
Contents
1. Install a security plugin / run a deep scan
Why this Step is Crucial
- Even if the site is compromised, a plugin like Wordfence (or Sucuri, MalCare, iThemes Security) can help automatically detect infected files, suspicious modifications, malware signatures, or backdoors.
- This gives you a global view of visible infections and serves as a starting point for cleanup.
Wordfence offers a highly sensitive scan option and can indicate compromising files.wordfence.com
Tips Precautions
- First, install the plugin, but avoid jumping to conclusions: some results may be false positives or legitimate custom code.
Activate alerts and schedule regular scans (daily or weekly). - If the plugin offers a “hard mode” or “deep scan,” prioritize it to detect hidden files.
In addition, you can use other (external) scanners or services (e.g., Sucuri) to cross-reference results.
2. Identify suspicious, corrupted, or modified files
What to Look for?
- Files not found in a standard WordPress installation (core, themes, plugins).
- Suspicious code: eval(), base64_decode(), injected iframes, files with unusual or randomly generated names.
- Backdoor files: seemingly harmless scripts used to maintain hidden access.
- Recently modified files — compare modification dates with a clean version.
- Server logs (access logs, error logs) to detect unusual patterns or suspicious requests.
- In the database: check wp_options, wp_posts, etc., tables for injected scripts.
- Suspicious user accounts in the WordPress admin (new unauthorized administrators).
Recommended Method
- Download a clean version of WordPress (same version) from wordpress.org.
- Compare core files (excluding the wp-content folder) with the originals; replace compromised versions.
- Do the same with themes/plugins: reinstall official versions from official publishers.
- For custom content (child theme, CSS, media): inject them after manual verification.
- If a modified file is legitimate but suspicious, isolate it and analyze it line by line.
This replacement/verification approach is recommended in WordPress cleanup guides.
3. Reinstall secure WordPress files, themes, and plugins
Objective
Only keep as “live” the code you know is safe. Anything that could be compromised must be replaced with a healthy version.
Steps to Follow
- Download the WordPress version corresponding to your installation (same core version) from wordpress.org and extract the files.
- Replace core files (except wp-content and wp-config.php) with the official versions.
- Delete unused, outdated, or hacked themes/plugins. Install remaining themes/plugins from official sources (WP directory, publishers).
- Clean up / recreate wp-config.php if necessary — check security keys, settings, file permissions.
- Check file/folder permissions (e.g., 644 for files, 755 for folders) to limit abusive access.
- If your host or server allows isolation (sandbox mode, new folder), consider installing a clean version in a new directory and gradually transferring the cleaned content.
4. Change all passwords lock access
why?
Once a site is compromised, it must be assumed that the attacker may have access keys (FTP, admin, database, etc.). Therefore, all “doors” must be closed.
Accounts to Modify
- All WordPress accounts with rights (administrators, editors, etc.).
- The database user (MySQL/MariaDB) — update wp-config.php if changed.
- FTP / SFTP / SSH access.
- Hosting account / cPanel / server panel.
- Emails associated with the site or admin accounts.
- Revoke or change API keys, external tokens, or third-party access (plugins, external services).
Best practices
- Use strong passwords: long, mix of letters / numbers / special characters.
- Enable two-factor authentication (2FA / MFA) for all critical accounts.
- Limit user roles (do not assign administrator rights unnecessarily).
- Delete inactive or suspicious accounts.
- If possible, restrict WordPress admin access via IP whitelist or firewall (WAF).
Jetpack notably recommends changing passwords, enabling 2FA, and auditing accounts after an intrusion.
5. Implement a backup strategy + restoration plan
The Importance of this Step
Without a backup, any new attack or error could lead to irreversible loss. Backup is your safety net.
What a Complete Backup should Contain
- All WordPress files (core, themes, plugins, media)
- The entire wp-content folder
- The database (tables, content, options)
- Sometimes server configuration files depending on hosting (e.g., .htaccess, nginx.conf)
WordPress.org recommends backing up both files and the database.
Backup Solutions Tools
- Reliable plugins: UpdraftPlus, BackupBuddy, Jetpack (Backups), Duplicator, etc.
- Off-server storage: cloud (Google Drive, Amazon S3, Dropbox), external server, local storage.
- Regular automatic backups (daily or depending on activity) + ad-hoc backups before major updates.
- Regular restoration testing (in a test environment) to ensure backups are working.
- Keep multiple backup versions (history) to be able to go back far if necessary.
According to Jetpack: “You need to perform regular backups, run scans, update your site, etc.” Jetpack
And the Developer Handbook recommends regular snapshots stored in a trusted location. WordPress Developer Resources
Restoration Plan
- In case of a new compromise, identify the last clean backup.
- Restore files and the database from that backup.
- After restoration, apply security actions (steps 1 to 4) to “harden” the site.
- Document the restoration process to save time if it happens again.
Additional Steps Post-Cleanup
- Contact the host / provider: they can help you isolate the attack, clean server-side files, or provide untapped logs.
- Check if the site is blacklisted (Google Safe Browsing, antivirus, search engines). If so, request a re-evaluation via Google Search Console after cleanup.
- Monitor logs and activity for several days post-cleanup to detect any re-injection attempts.
- Train users/administrators: best practices (do not install pirated themes/plugins, limit rights, do not browse as admin, etc.).
- Deactivate / delete unnecessary components: unused themes, deactivated plugins — even when deactivated, they can be vulnerable.
- Harden the WordPress installation: disable file editing via the dashboard, limit login attempts, disable XML-RPC if unused, etc.
- Install an application firewall (WAF) or activate your security plugin’s firewall to block malicious attempts before they reach WordPress.
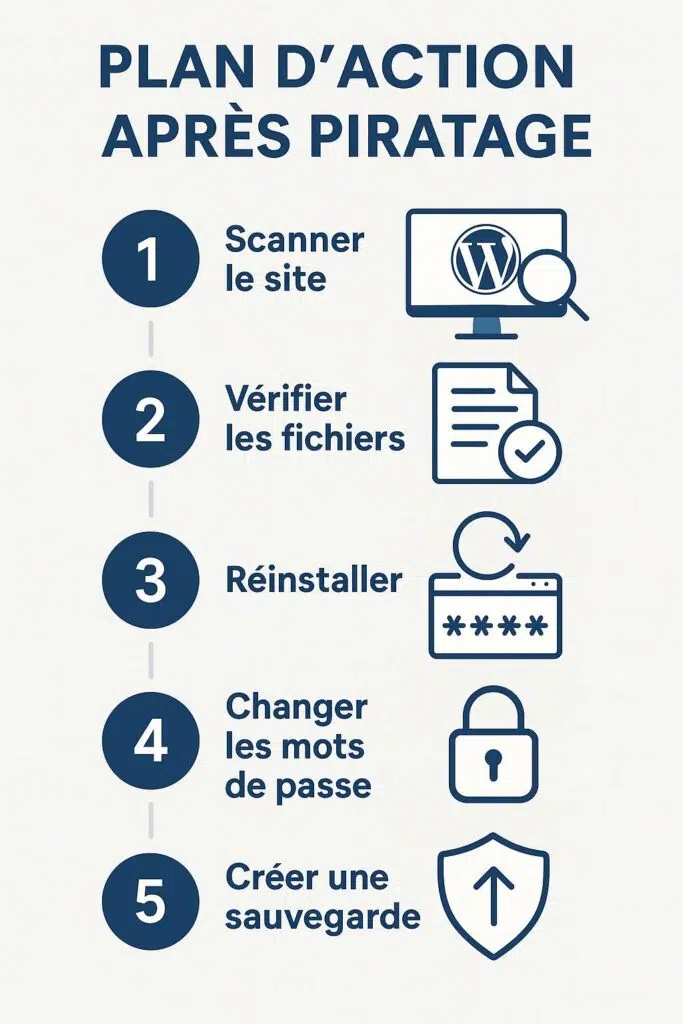
| Step | Main Action | Objective |
| 1 | Install security plugin run a scan | Identify visible infections |
| 2 | Identify and isolate suspicious files | Detect backdoors and malicious code |
| 3 | Reinstall clean core / themes / plugins | Only keep “reliable” code |
| 4 | Change all passwords lock access | Prevent any new intrusion |
| 5 | Implement backup + restoration plan | Protect against future losses |
Summary:
- Run a highly sensitive security scan.
- Identify and isolate all suspicious files.
- Reinstall reliable WordPress components.
- Change all access and harden accounts.
- Establish a solid and tested backup strategy.
Without a clean backup, each step is even more critical as you have to rebuild security “by hand.”
But if you follow these steps methodically, you can hope to restore a clean site and start on a resilient foundation.